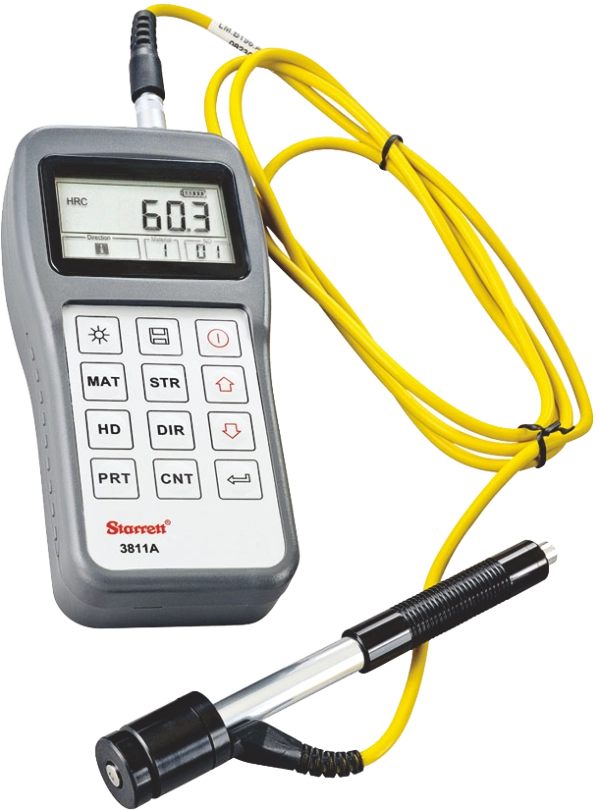
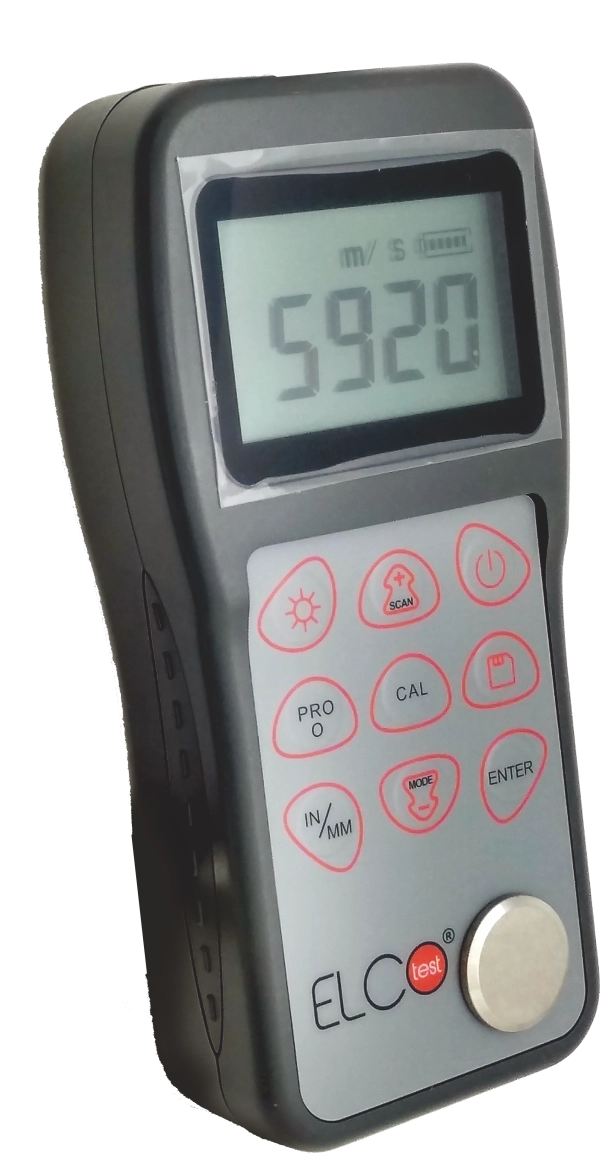
- LCD display of 128×64 matrix with back-light, showing all functions and parameters.
- Converts to all common hardness scales (HV, HB, HRC, HRB, HRA, HS).
- Powerful PC Software available and USB 1.0 interface and USB with Protective Membrane.
- 7 optional Impact Devices, which don’t require recalibration.
- The memory of 600 group data(impact times:32~1).
- Lower limit setting and sound alarm.
- Material of “cast steel” is added; HB values can be read out directly when the D/DC impact device is used to measure the “cast steel” workpiece.
- Normal AAA battery and big power store while USB
connected and charging controlling circuit. - The inbuilt function of Software Calibration.
- Hardness scale: HL, HB, HRB, HRC, HRA, HV, HS
- Memory: 48~600 groups (impact times: 32~1)
- Measuring range: HLD(170~960)
Accuracy: ±6HLD (760±30HLD) error of displayed value
6HLD (760±30HLD) repeatability of the displayed value - Standard Impact Device: D
- Optional Impact Devices: DC/D+15/G/C/DL
- Max. Workpiece Hardness: 996HV(For Impact Devices D/DC/DL/D+15/C)
646HB(For Impact Device G) - Min. Radius of Workpiece: Rmin = 50mm (with special support ring Rmin= 10mm)
- Min. Workpiece weight: 2~5kg on a stable support
0.05~2kg with compact coupling - Min. Workpiece thickness: 5mm (Impact Devices D/DC/DL/D+15)
1mm (Impact Device C)
10mm (Impact Device G) - Min. thickness of hardened surface: 0.8mm
- Power: Normal AA Battery
- Continuous Working time: approx. 100 h (backlight off)
- Operating temperature: 0~40℃
- Relative humidity: ≤90%
- Overall dimensions: 125*67*31mm (main unit)
- Weight: 0.3kg (main unit)
